ani/Character setting (rigging) in 3ds max
3ds max _ 무기 link constraint 적용하기, How to use link constraint
JIAH LIM
2020. 3. 15. 16:37
link constraint를 알기 전까지 계속 link 기능으로 무기를 이리저리 옮겼는데,
처음부터 셋팅을 link constraint로 파일을 만들어 주면 후에 애니키 잡기 편할 것 같다.
덤으로 무기를 특정 포지션에 고정시킬때 더미 셋팅까지. 까먹지 않도록 기록!
<Solution>
1. 0F 에 타임바를 둔 상태(auto key 끈 상태)에서 link constraint를 적용할 무기 dummy가 다른 곳에 link가 되어있는지 확인하고 모든 연결을 끊어준다.
2. assign controller 에서 transform 을 link constraint 로 바꿔준다.

3. 무기를 고정시킬 곳에 둔다. >> align으로 손에 이동! 후 적절하게 손에 위치 시키기
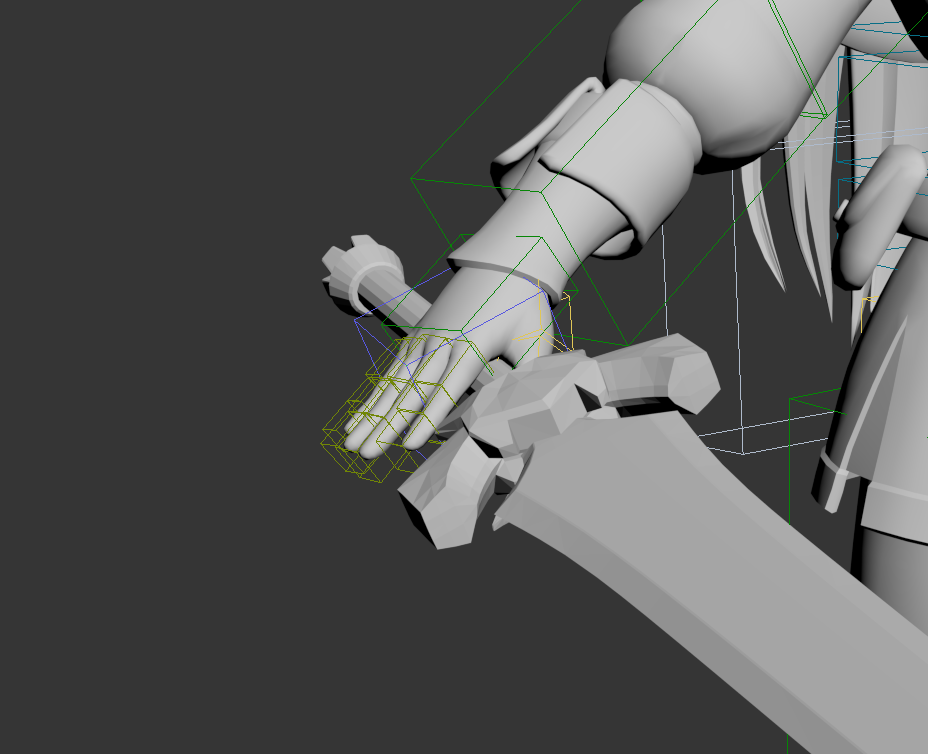
4. 새로운 dummy 를 생성해서 칼의 dummy에 align으로 rotation과 position이 동일하게 이동시킨후, 손에 link 해준다.

5. 다시 무기의 dummy로 돌아와 link constraint에서 add link로 손을 클릭해 0f에 키를 생성해준다.

6. 무기가 손에서 떨어질 때는 해당키의 전 프레임에 add link로 손을 추가하고, link to world로 해제 시켜준다.